http://www.yoheim.net/blog.php?q=20150102
display: table を用いて<table>タグを用いたのと同様のレイアウトができる。
<!-- tableを使ったレイアウト -->
<table style="margin: 0 auto; width: 480px; height: 240px;">
<tr style="width: 100%; height: 100px; background-color: green;">
<td></td>
</tr>
<tr style="width: 100%; margin: auto;">
<td style="background-color: cyan;"></td>
</tr>
</table>
<!-- display: tableを使ったレイアウト -->
<div style="display: table; margin: 0 auto; width: 480px; height: 240px; ">
<div style="display: table-row; width: 100%; height: 100px; background-color: green;">
<div></div>
</div>
<div style="display: table-row; width: 100%; margin: auto;">
<div style="display: table-cell; background-color: cyan;"></div>
</div>
</div>
サンプル
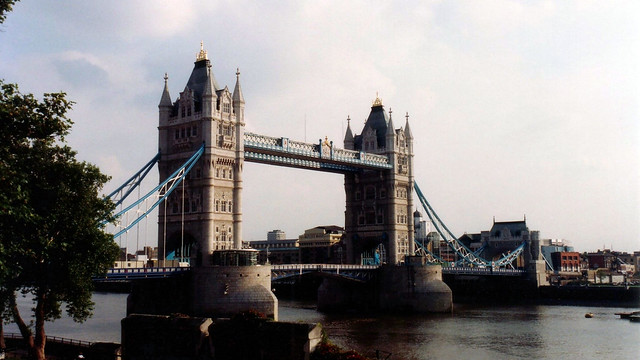
以下のようなレイアウトも可能
480px x 480px のボックスの上部に
このキャプションを記載しているボックスを配置して、
その下部に画像をフィットするように配置している。
このキャプションを記載しているボックスを配置して、
その下部に画像をフィットするように配置している。

<div style="display: table; table-layout: fixed; margin: 0 auto; width: 480px; height: 480px;">
<div style="display: table-row; table-layout: fixed; width: 100%; height: 0%;">
<div style="display: table-cell; border: 1px solid black; line-height: 1.4;
background-color: lightyellow;">
<div>
480px x 480px のボックスの上部にに<br/>
このキャプションを記載しているボックスを配置して、<br/>
その下部に画像をフィットするように上下中央揃えで配置している。
</div>
</div>
</div>
<div style="display: table-row; table-layout: fixed; width: 100%; margin: auto;">
<!-- margin: auto; がポイント -->
<div style="display: table-cell; text-align: center; vertical-align: middle;
width: 100%; border: 1px solid black; background-color: lightgreen;">
<img src="image.jpg" style="max-width: 100%; max-height: 100%;">
</div>
</div>
</div>
サンプル
以上